Trigger Node
A Trigger Node is the starting point of every workflow. It is the node responsible for initiating the execution of all subsequent nodes in the workflow chain. Without a trigger node, a workflow cannot begin — it defines when and how your automation should start.
⚡ Every workflow must have exactly one Trigger Node.
It is the first node to execute, and all other nodes follow it in sequential order.
What Does a Trigger Node Do?
A Trigger Node determines when your workflow should run.
This means the trigger actively “listens” for a specific event, schedules an execution, or reacts to an external input.
Some examples include:
- Running a workflow at a specific time (e.g., every morning at 09:00)
- Running a workflow when new data arrives from another system
- Running a workflow when a webhook is called
- Running a workflow when a file is created or updated
- Running a workflow when a user performs an action in the UI
Once the Trigger Node activates, the workflow continues step-by-step through all the nodes connected to it.
Why Is the Trigger Node Required?
Every workflow needs a starting point. Without a trigger:
- The workflow cannot be executed
- You cannot test or preview the workflow
- The system cannot determine when your logic should run
- Other nodes will never receive any input
Think of the Trigger Node as the “On” switch for your automation.
Webhook Trigger
Starts the workflow when an external system sends an HTTP request.
Use cases:
- Payment webhook (e.g., Stripe, PayPal)
- Form submissions
- Receiving real-time updates from third-party services
Sample URL:
https://example.com/webhook/trigger/abc123
Data Trigger
Executes a workflow when new information arrives — such as:
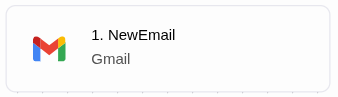
- New email received
- New record created in a database
- New file uploaded
- A message pushed from another service
How the Trigger Node Executes the Workflow
Once the trigger is activated:
- The Trigger Node generates the initial execution context
- This context is passed to the next connected node
- Each node processes the data in sequence
- The workflow ends naturally when there are no more nodes to execute
Example flow:
[Trigger Node] ➜ [Data Fetch] ➜ [Transform] ➜ [Send Email]
Creating a Triggered Workflow
Follow these steps to add a Trigger Node to your workflow:
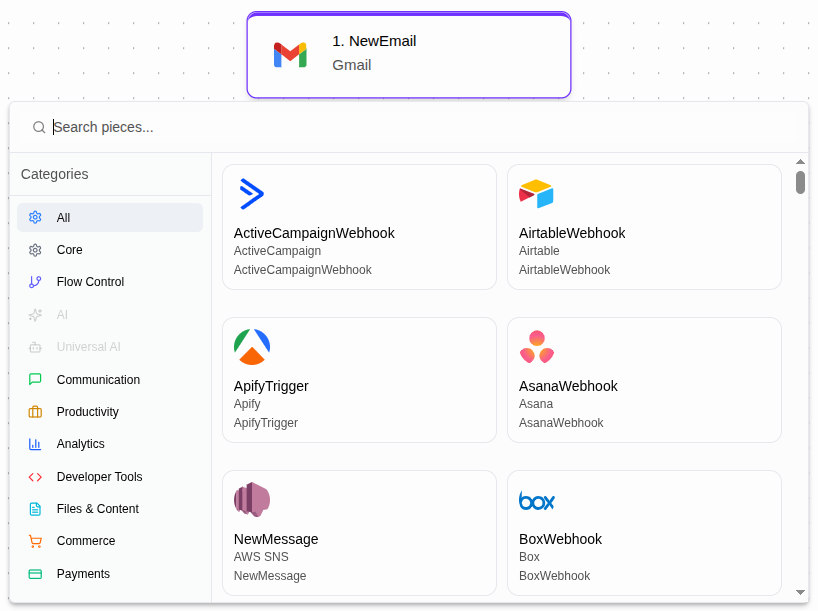
- Create a workflow or open the workflow editor (click to edit button).
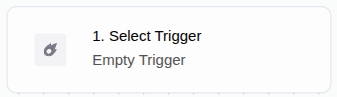
- Click your trigger node. If you created a new workflow, this trigger node may be an Empty Trigger. If you already have a workflow, the trigger node is the first node of your workflow. Click it and change it however you want.

Best Practices
- Always test trigger behavior before activating the workflow.
- Use descriptive names for trigger nodes (e.g., “Daily Reporting Trigger”).
- Avoid multiple triggers — each workflow should have only one. -Validate input data if your trigger accepts external requests (like webhooks).
- Use environment variables for secure tokens or webhook secrets.
You’re Ready to Build!
- Now you know:
- What a Trigger Node is
- Why it is required
- The most common trigger types
- How to add and configure a trigger
- How workflows execute from the trigger
- Best practices to avoid common mistakes
You can now create a new workflow and choose the trigger that best fits your automation needs.
Your workflow begins the moment your trigger fires — start building powerful automations today!