Gmail
Learn how to connect Gmail to puq.ai.
Option 1 — Use Default puq.ai Connection (Recommended)
If you signed in to puq.ai using Google, you can use the default connection.
When selecting the OAuth app in puq.ai, choose puq.ai from the select box.
In this case, the connection will be created automatically using the Google account you used to log in.
No additional configuration is required.
Step 2
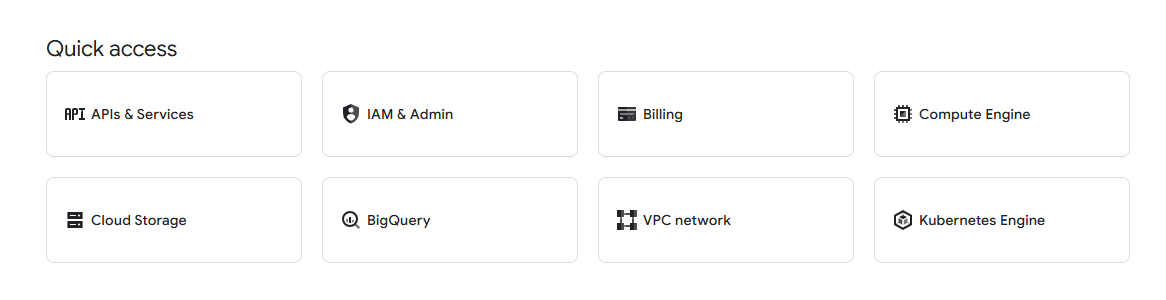
From Quick access, click APIs & Services.
Step 3
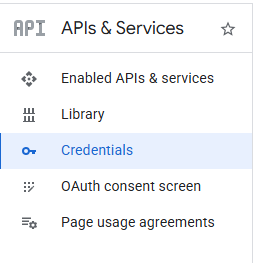
From the sidebar, click Credentials.
Step 4 — Create or Select a Project
If you don’t have any projects
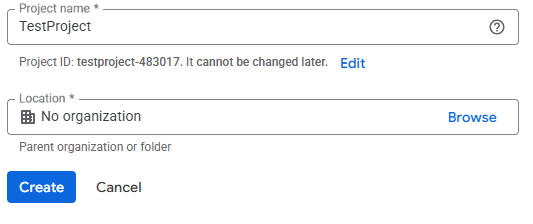
Click Create a project, fill in the form, and create the project.
If you already have projects
Click the current project name in the top bar and select an existing project,
or click New Project to create a new one.
If a suitable project already exists, simply select it.
Step 5 — Create OAuth Credentials
From the top bar, click Create credentials → OAuth client ID.
Step 6
Click Configure consent screen.
(If a consent screen is already configured, skip to Step 10.)
Step 7
Click Get started and complete the consent screen setup.
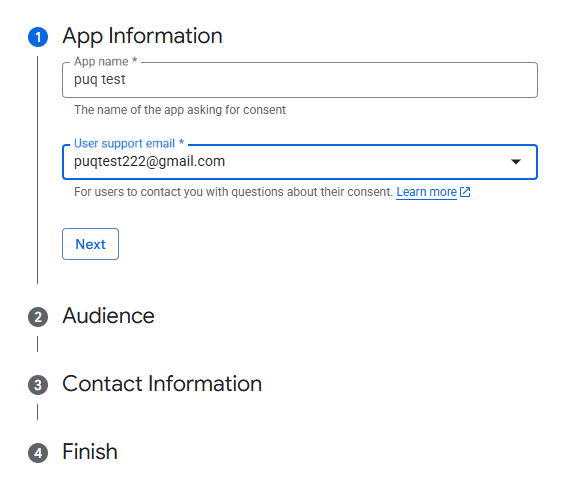

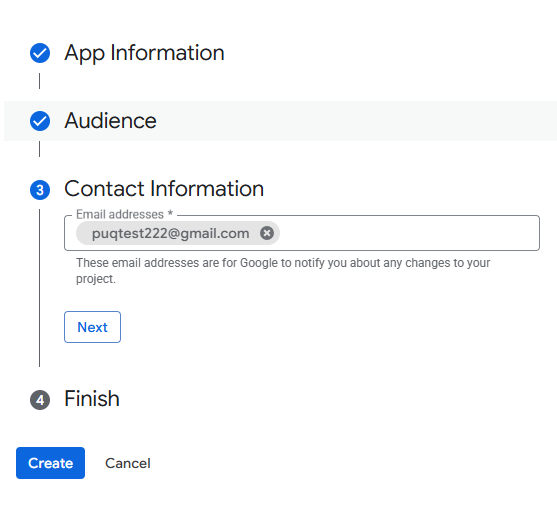
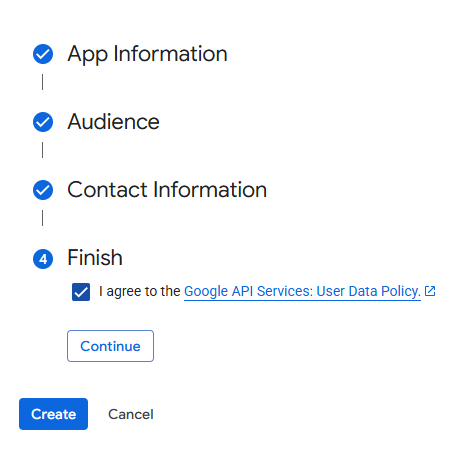
Click Create.
Step 8
After the consent screen is created, click Create OAuth client.

Step 9
Select Web application as the application type.
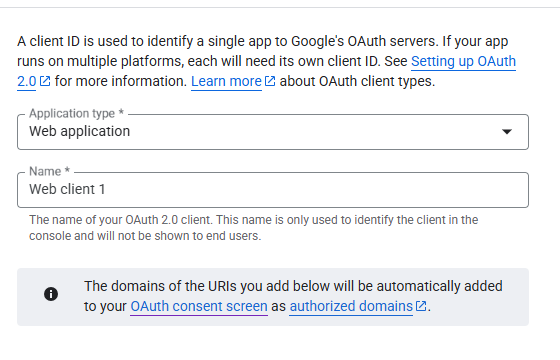
Step 10
Fill in the form and click Create.
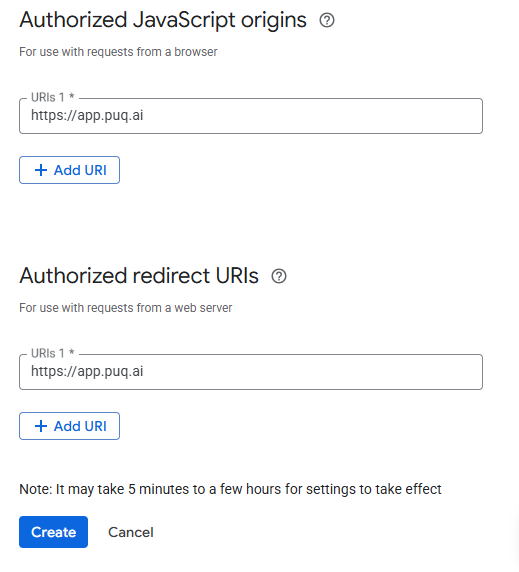
Step 11
Once the OAuth client is created, you will see your:
- Client ID
- Client Secret
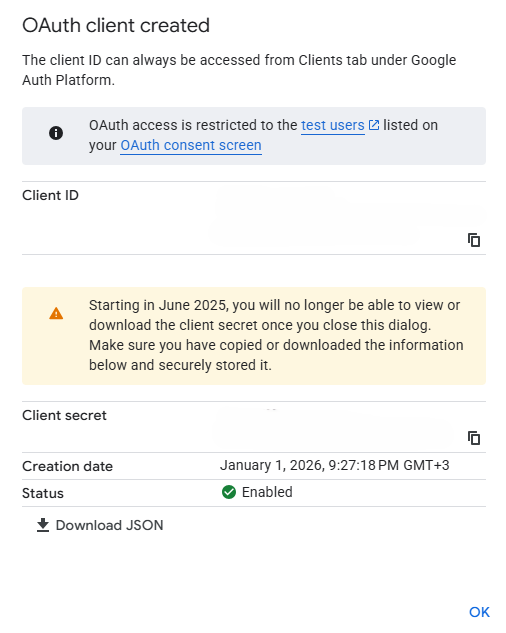
You can now use this Client ID and Client Secret in puq.ai to complete the Google connection.